My favourite project is knitting the little hearts. This week I have decided to provide a step-by-step guide for those of you who want to make them at home. This is a very basic pattern I would recommend for knitters who are looking for a quick project. It only requires the basic knit and purl stitches, as well as simple increases and decreases.
Materials needed:
- Yarn, of any colour or size. Gauge does not matter for this project. Remember, a chunkier yarn will equal a larger heart.
- Two knitting needles. Again, size does not really matter but I prefer size 5 US (3.75mm)
- Stuffing. I used poly-fill, 100% polyester stuffing
- A tapestry needle for sewing in the loose ends.
Abbreviations:
- CO = cast on
- BO = bind off
- st = stitch
- k = knit
- p = purl
- kfb = knit into front and back of stitch (to make 2 stitches where there was 1)
- k2tog = knit 2 stitches together v
- p2tog = purl 2 stitches together
- rep = repeat
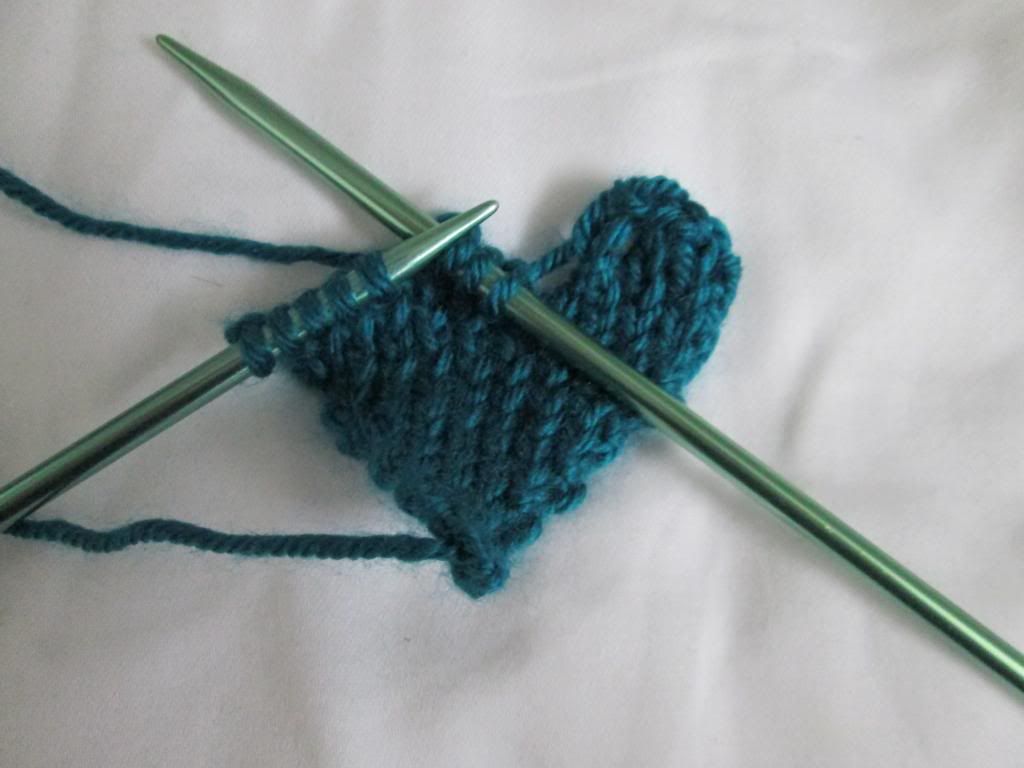
Pattern (make two)
CO 2 st
Row 1: kfb, k to last st, kfb
Row 2: p 1 row
Rep these 2 rows 6 times total (14 st)
Row 3: k2 tog, k5 and turn, leaving remaining 7 st on the needle
Row 4: p2tog, p2, p2tog
BO 4 st, leave a long string (about 10") for attaching to other side of heart
Reattatch to work the 7 sts left on needle
Row 5: k5, k2tog
Row 6: p2tog, p2, p2tog
BO 4 st
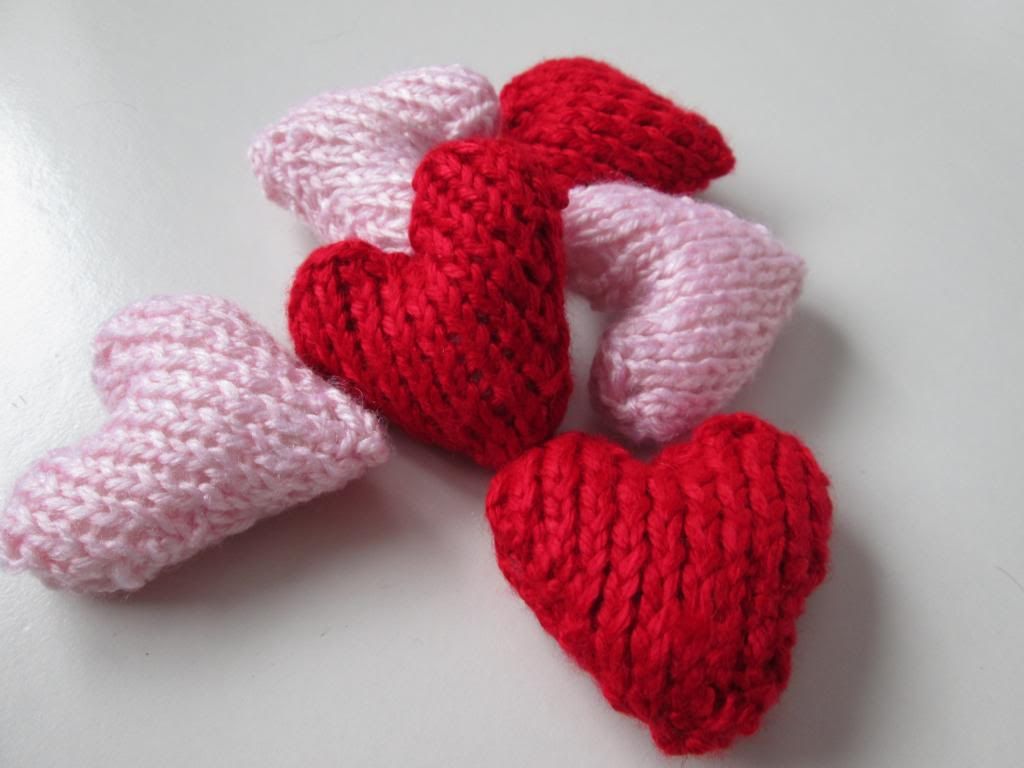
When you're done you should have two identical hearts. I iron the hearts before sewing, that way they are flat to work with. When you're ready put the two pieces together with the knit sides facing each other. This way the stitching will be on the inside and won't be noticeable. Sew together both sides of the hearts, but leave the top open for stuffing.
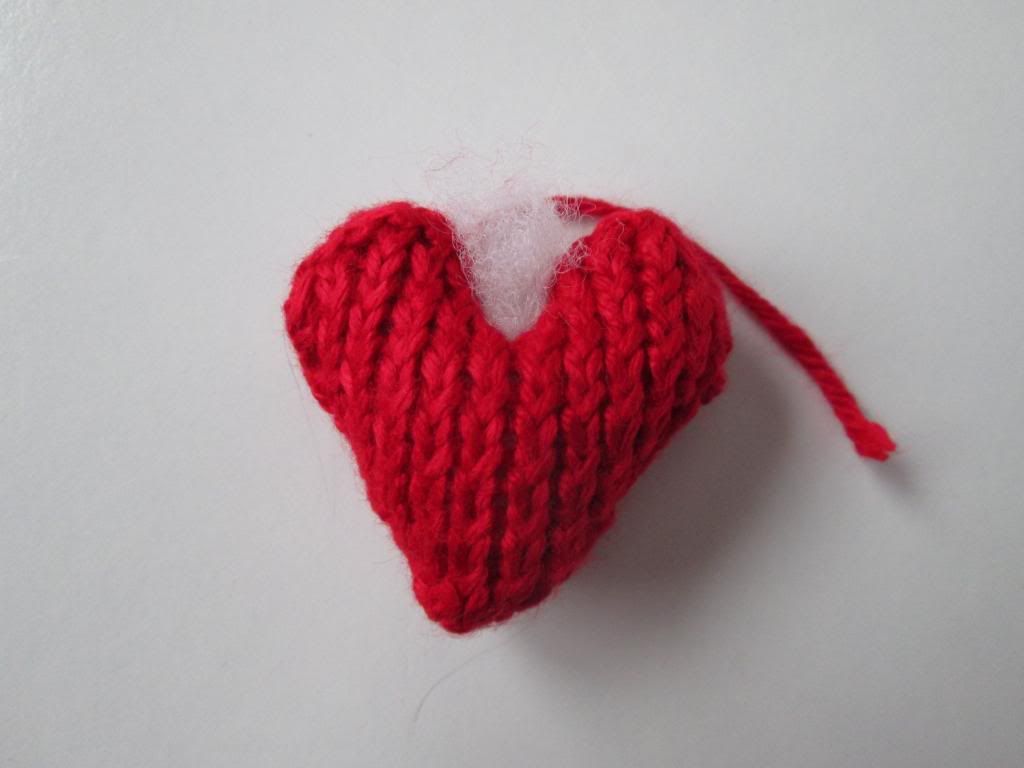
Flip the heart inside out, so that the knit sides are now facing out. Stuff the heart. You should still have some loose thread left over to sew the top together. Sew it closed and weave in any loose ends.
Now you're done! Have fun making it with different colours. A quick knit for any last minute gift.
See previous blog post Handfull of Hearts for more information.