Monday, December 23, 2013

Lil Santa hats


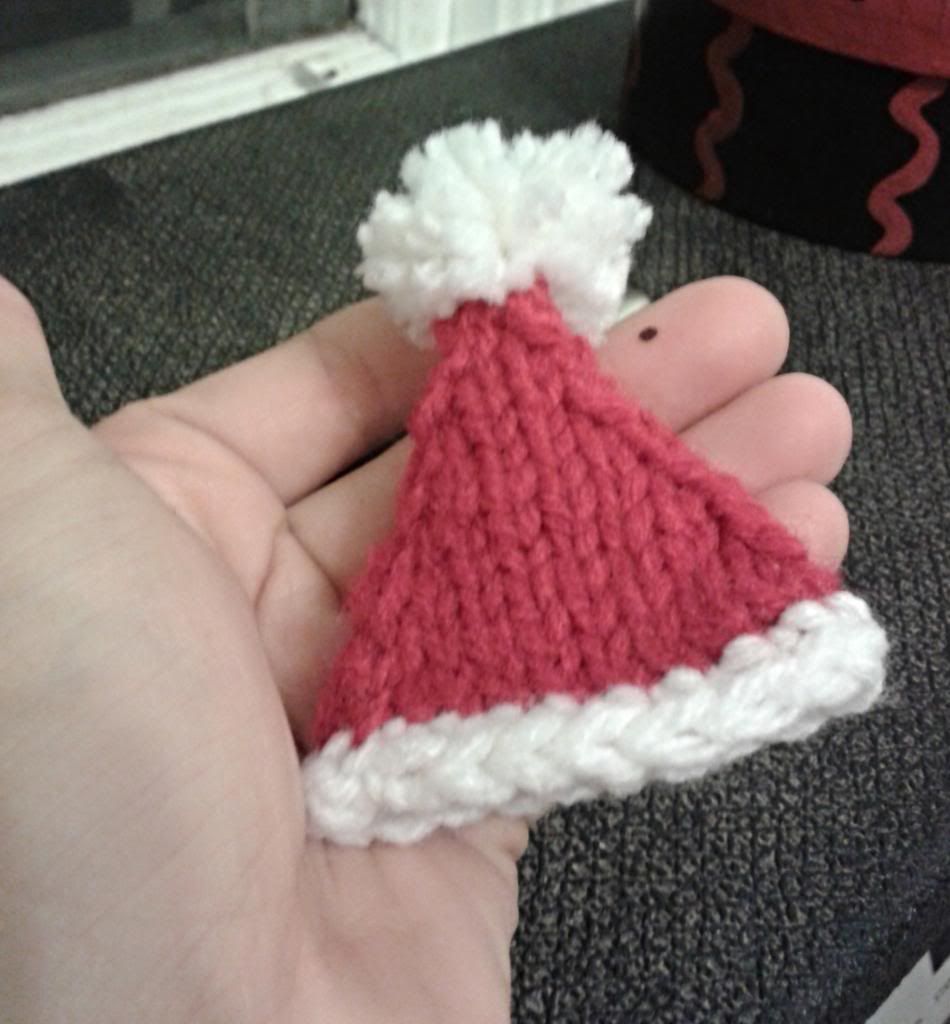
My workplace has been treating me pretty well for the holidays.  First I got a week and a half off. Which is awesome, having worked through Christmas and New Years for the past few years.   Next the ladies at work got everyone a Christmas card complete, with gift cards.  My gift card was for Micheals, the ladies know me so well!  I needed something that I could whip up for them overnight, before we left for the holidays.  A customer had made each of them a little guy folded out of a pop can and it seemed like the perfect place for a little Santa hat. It was really easy to make and took me about an hour or so from start to finish.

Finished item measures approx. 3" from cuff to tip of pom-pom x 5" around un-stretched

Materials


- scrap yarn in red and white
- 4 double pointed needles sized 5mm/US 8
-tapestry needle

Abbreviations:

Sts - stitches
CO - cast on
BO - bind off
K - knit
PM - place marker
K2tog – knit two together

Hat

Using red CO 20 sts and join for working in the round. I used three double pointed needles (7-6-7)

Row 1: K10, PM, K10
Row 2: K to end Row 3: SSK, Kto 2 before marker, K2TOG, repeat
Row 4 - 5: K to end
I usually go down to 2 needles on row 9, leaving 4 sts on each needle.
repeat last 3 rows until 4 sts left.  Cut yarn and weave through remaining sts.

Cuff and Pom-pom


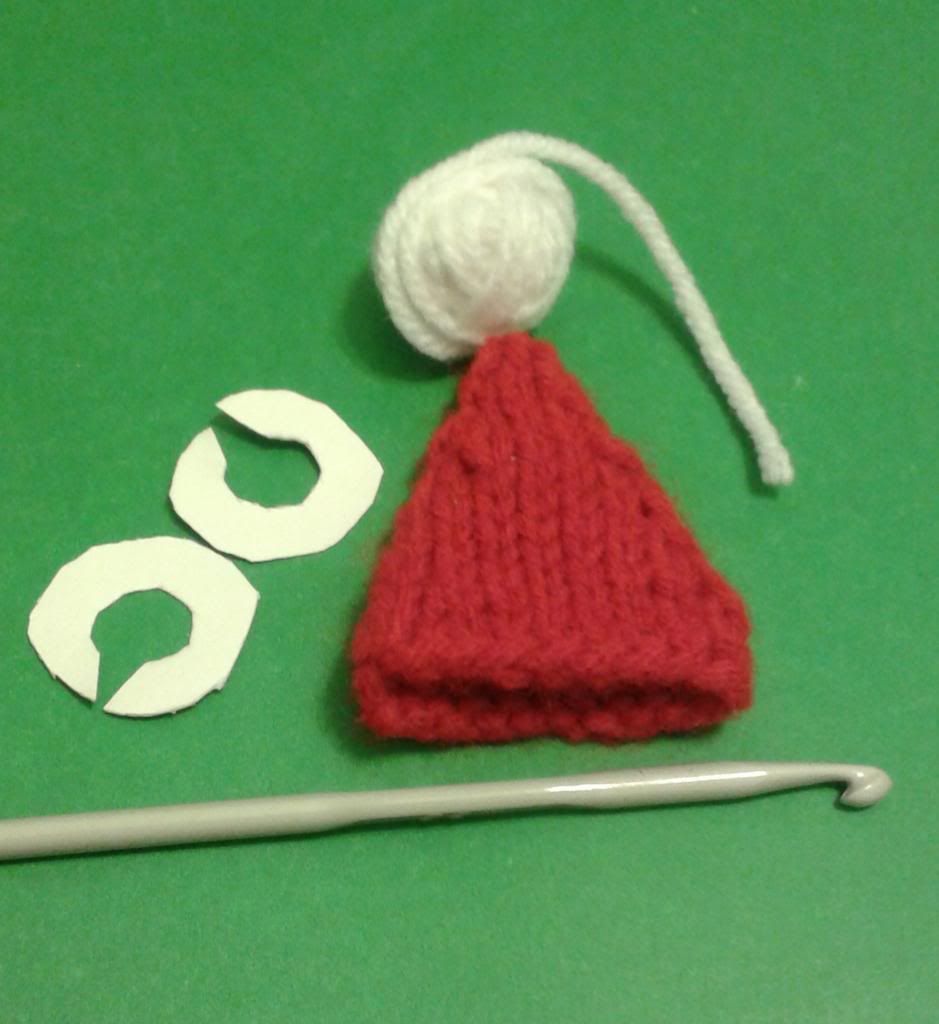
You will need the hat body, some scrap white yarn, size 4.5 crochet needle, and two small pom-pom makers.  (I make my own out of cardboard.)


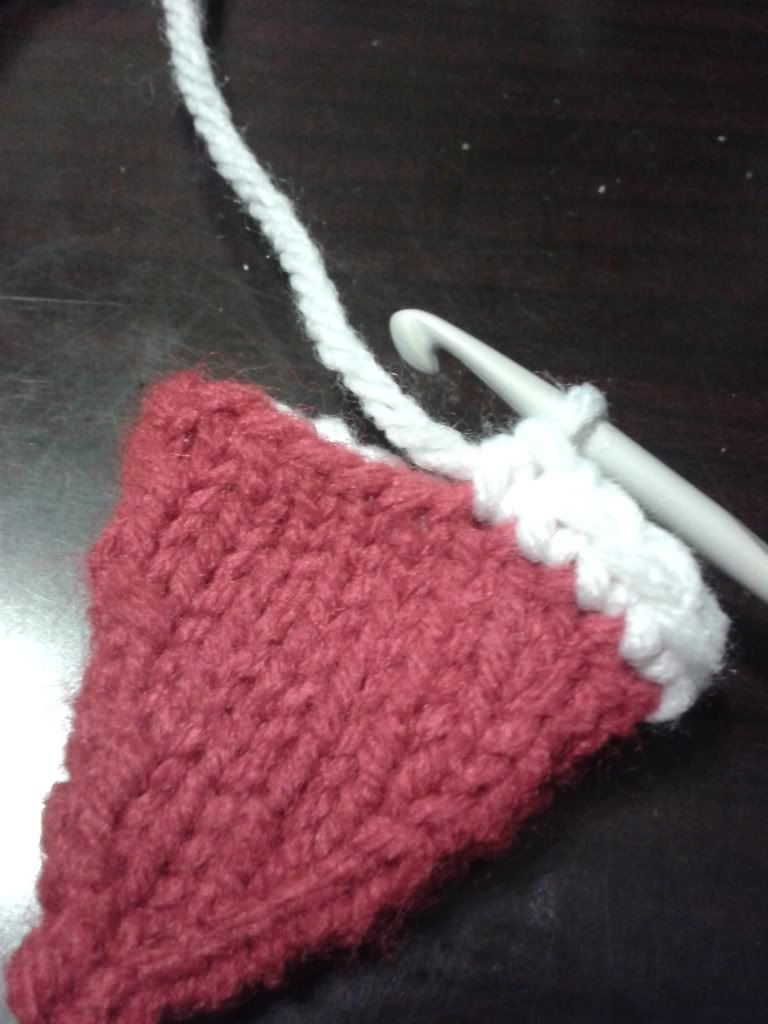
Using white, work 1 row of SC around cast on edge of hat.

Using white make a pom pom.  Attach to top of hat.  Weave in all ends and voila! You have a Lil Santa hat!  
Now come the endless possibilities of where to put it!  I plan to spread the joy and yarn bomb the places I visit over the holidays.  Leaving a bit of Christmas cheer behind.  Pro tip, anytime I`m transporting a hat with a pom-pom, I turn it inside out to preserve the fluffiness.

Merry Christmas and Happy Holidays from Not Your Grandmother`s Knitting!


Go home rum, you`re drunk.


Sunday, December 15, 2013

Rainbow Mittens

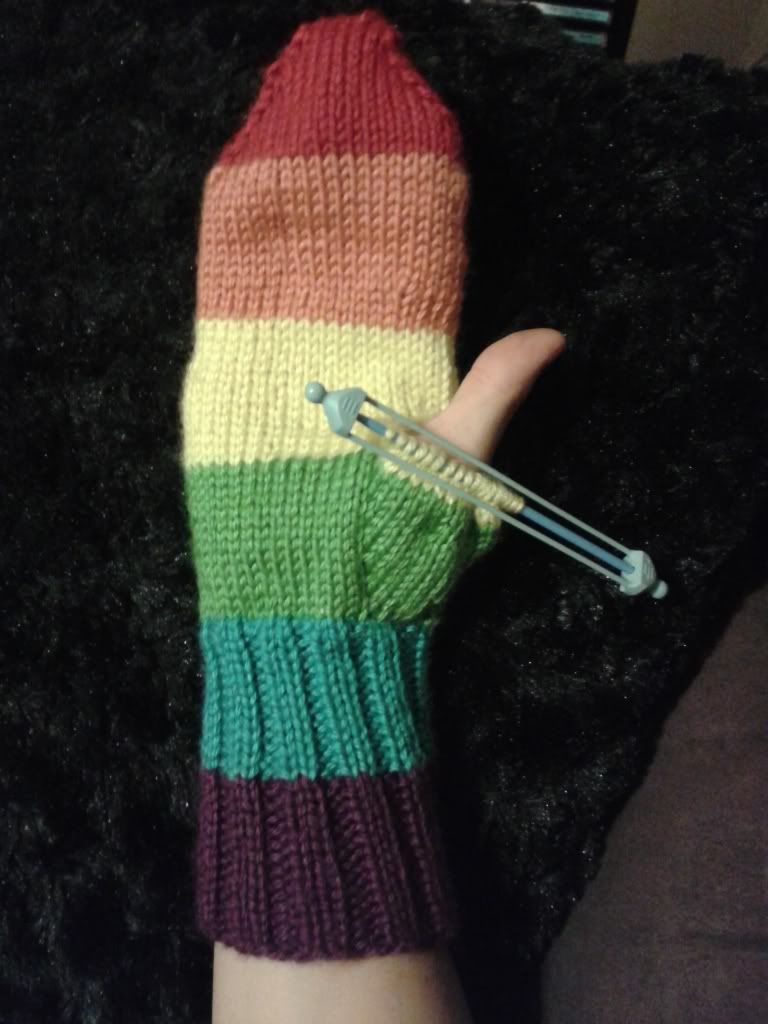
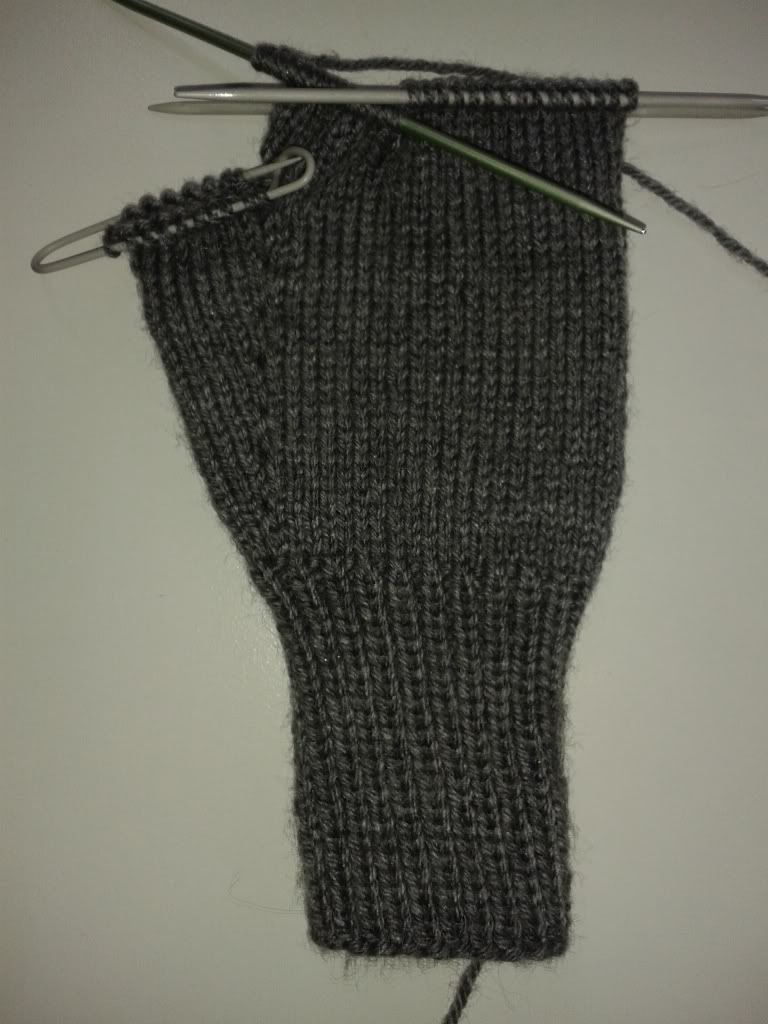
One of my previous patterns, the rainbow fingerless gloves, have been getting quite a lot of attention.  People go wild for them!  They love the pattern, they love the gloves, and I have even received a request to make some rainbow mittens.  So I did!  They are so easy to make I thought I would share the pattern here.

The pattern is for some basic mittens with a rainbow colour scheme, worked in the round with double pointed needles.  

Materials:

One skein of each colour of the rainbow.  Red, Orange, Yellow, Green, Blue, Purple.  I used Red Heart soft
yarn (gauge:17st x 23r = 4in(10cm) on size US 8/5mm needles)

Abbreviations:

Sts - stitches
CO - cast on
BO - bind off
K - knit
P - purl
PM - place marker
M1 - make one, pickup and knit thread from between 2 sts of last row.  
RH - right hand
LH - left hand
K2tog – knit two together

Gauge: 23 sts x 22 rows in 4"x4" on size 5 (3 3/4mm) needles.  Adjust needle size to match gauge.

Wrist

CO 40 sts purple.
Row 1-13: (K2, P2) repeat to end.

Change to blue.
Row 14: K to end.
Row 15 - 27: (K2, P2) repeat to end

Thumb gusset

Change to green.
Row 28: (RH) K2, PM, P2, M1, K2, M1, P1 PM, K to end.
              (LH) K34, PM, P2, M1, K2, M1, P1 PM, K to end.
Row 29: K to marker, P1, K to last st before marker, P1, K to end
Row 30: K to marker, P1, M1, K to last st before marker, M1, P1, K to end
Repeat last two rows until there are 16 sts between markers
Row 41: K to marker, P1, K16, put last 16 sts on stitch holder, K to end (38 sts)

Change to yellow
Row 42: (RH) K3, CO2, K to end.
              (LH) K35, CO2, K to end
Row 43 - 55: K to end

Change to orange
Row 56 - 65: K to end
Divide sts evenly between 2 needles (19 sts each)
Row 66: SSK, K to last 2 sts on needle, K2tog, repeat
Row 67: K to end
Row 68 - 69: Repeat last two rows.

Change to red.
Row 70: K to end
Row 71- 81: repeat decrease pattern from rows 66 & 67
Row 82: K to end
                                            BO using Kitchener stitch.

Thumb

Pickup 26 sts from sts holder and 2 CO sts from row 42.
Row 1 - 7: Using yellow, K to end.
Divide sts evenly between two needles, (9 sts each) making sure the 2 CO sts are on seperate needles.
Row 8: SSK, K to last 2 sts on needle, K2tog, repeat to end
Row 9: K to end
Repeat last 2 rows two more times.
BO using Kitchener stitch
Weave in all ends.

Bam, now you can be all happy and warm in your new gloves!  If there are any questions or comments please feel free to contact me.


Thursday, November 28, 2013

Cocoon Bout-ique

Whew,  it's been another busy couple of weeks.  Right now I'm back in school for apprenticeship classes.  I find I learn better when I have something to do, so I'm getting a fair bit of in-class knitting time.  There is something very satisfying about knitting away in a room full of mechanics.  I get some odd looks.

Being in school often means I'm done for the day much earlier then usual (unless I work after school, then I'm done much much later).  This gives me the time to focus on making my knitting awesome, and getting people to notice.

My knitting can now be found in the heart of Gottingen St. at the Cocoon Bout-ique.  It's an amazing new shop that specializes in punk, rockabilly, pin-up and alternative clothing.  The shop carries a pretty wide variety of clothing, from baby's clothes to plus sized clothes.  You can find all sorts of other little things around the shop as well. They have some amazing shoes, jewelry, hula-hoops, artwork, stickers and greeting cards etc.  It really fills a niche for awesome clothes that has been pretty much left empty since Fashionably Dead closed its doors.

It also happens to be the only place in Halifax that sells roller derby gear.  Which is great because the only other option before was to order them online and have them shipped out.  Being able to check out your gear has huge advantages, especially if you're not quite sure what you need.  I probably spent a half an hour or so checking out the different helmets making sure I got the right size. 


In other knitting news my second Etsy order came through for a pair of rainbow gloves.  Every new order is really exciting for me. For patterns I am working on writing up a PDF of the Star Trek drink cozy, and I'm also working on some rainbow mittens.  Keep an eye out for both of those!


Friday, November 15, 2013

Star Trek Drink Cozy

I've been watching a lot of Star Trek lately, both the original series and The Next Generation.
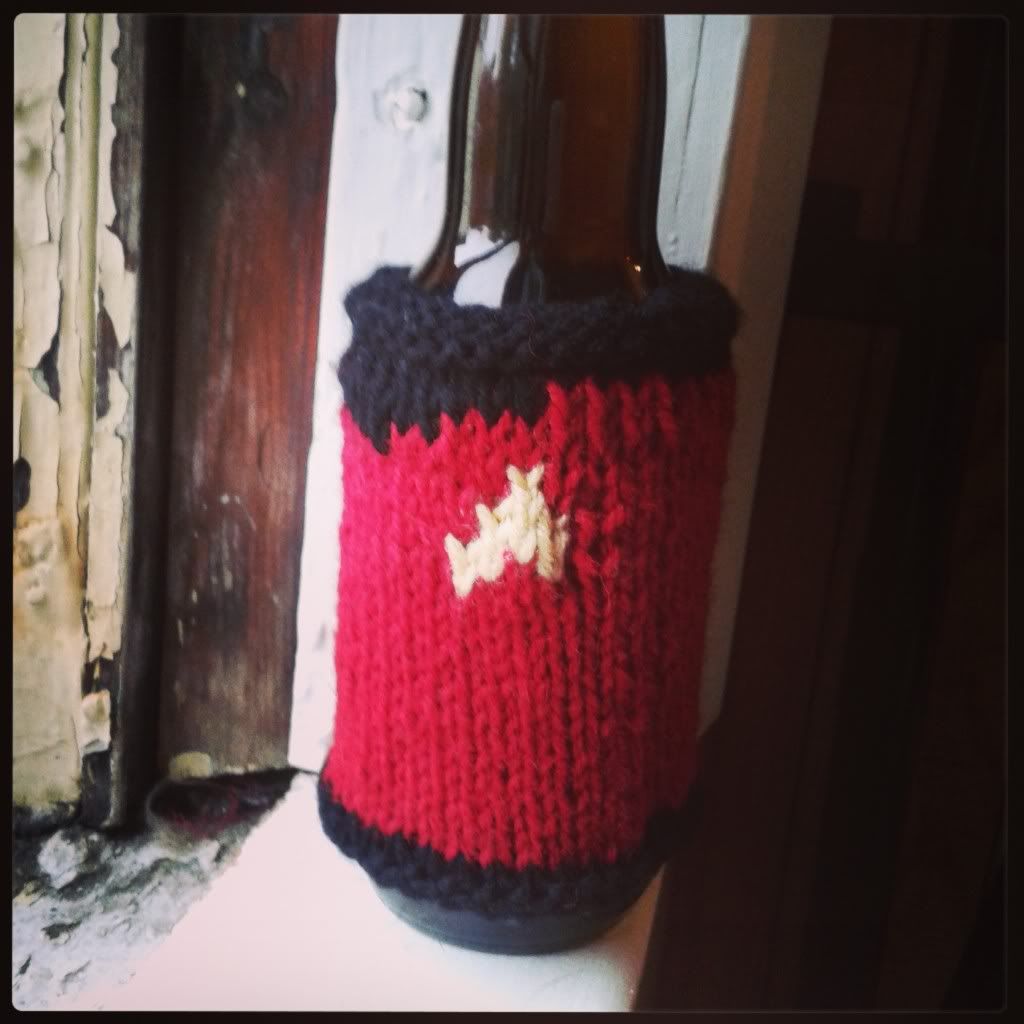
I wanted to make a drink cozy designed after the notorious red-shirted crewmen on the original series.  They are well known for being killed and replaced in the show, much like the beer in my fridge.


There is a wonderful pattern on Ravelry designed after the command shirts for TNG.  Unfortunately, this pattern was not quite what I had in mind so I grabbed my needles and set to work on my own design.


The pattern I made is based on the uniforms from the original series. Typically the red shirted crew members are part of the security team and are well known for being the expendable crew members. It is a safe bet that the red shirt will be the one who does not return from away missions.

The first draft turned out very well.  The sizing was just about where I wanted it, fitting a standard bottle. The chart for the star fleet insignia also turned out very well.  In the first draft this was knit in with intarsia style.


My second draft had a few changes. One, I used smaller needles for a tighter knit. This resulted in the whole item being smaller (of course) and made me adjust my gauge to fit the final sizing.  I also changed the red yarn used to better match the classic uniforms.  The main change was that I decided to put the insignia on using a duplicate stitch, rather then knitting it in with the base colour.  This resulted in the insignia looking much cleaner and there are no changes in gauge or holes with the colour changes.

The third and final draft fixed the gauge problem with using smaller needles.  It also helped me design the amount of rows to have for the black edging to the shirt.  I think this one nailed it!


More on Duplicate stitch: http://www.purlbee.com/knitting-tutorials-decorative/2007/10/28/duplicate-                                           stitch.html
                              Video: http://www.youtube.com/watch?v=-cfmjyaaAdw

Tuesday, October 22, 2013

The Thanksgivening


This past week I was in Ontario visiting my family for Thanksgiving.  No one really knew I was coming so it was a lot of fun just showing up to dinner and surprising everyone.  It's so important to take time off and spend it with family.  I now feel much more refreshed and energized.

Whenever I go on long trips I bring my current projects with me, (Being outside for more then 5 hours can sometimes count as a long trip and therefore also requires knitting).  This time around I had a bag full of cotton yarn ready to be made into dishcloths.  The goal was to see how many I could make in a week.  The pattern I used was relatively quick to complete, but there were whole days spent without crocheting so the final count was not as many as expected.  It still ended up being a little mountain of dishcloths.  It was a good exercise on keeping my stitches consistent.
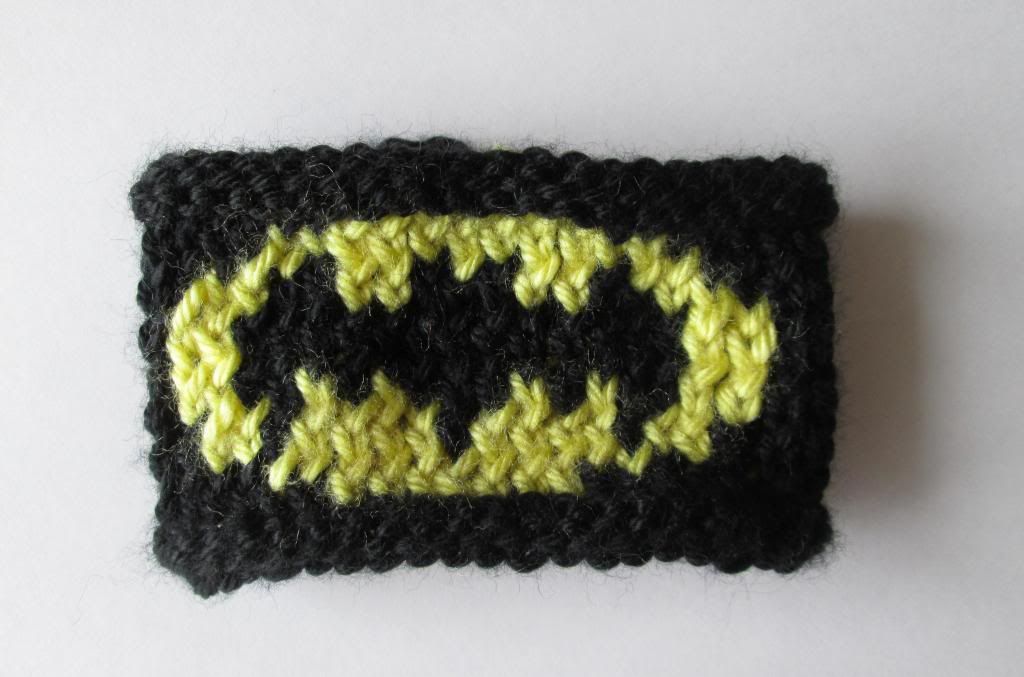
 One of my cousins commented on how she loved the Batty wristband when they first came out,  so I gave her one.  The next day she went around showing it off.  It's so awesome when my knitting finds a good home!

Every time I make a trip home I stop by my knitting Mecca, my grandmother's house.  It's so exciting to have another knitter in the family, (I am the only one of 8 cousins that picked it up) and love sharing my current projects with my Nana.  I usually leave with a handful of new needles, or yarn, or buttons, etc.  This time while there I was able to do a little interview with her and learn more about my knitting heritage.

My Nana started knitting and crocheting over 62 years ago!  That's a lot of time to perfect the craft.  She started off knitting sweaters and crocheting doilies and has made many items over the years including socks, slippers, sweaters, hats, gloves, afghans...The list goes on!  It astounds me that despite all her years of knitting she has never learned to work off a written pattern.  Instead she looks at a finished product and is able to recreate it, or has created her own patterns.  My Nana has been such an inspiration to me.

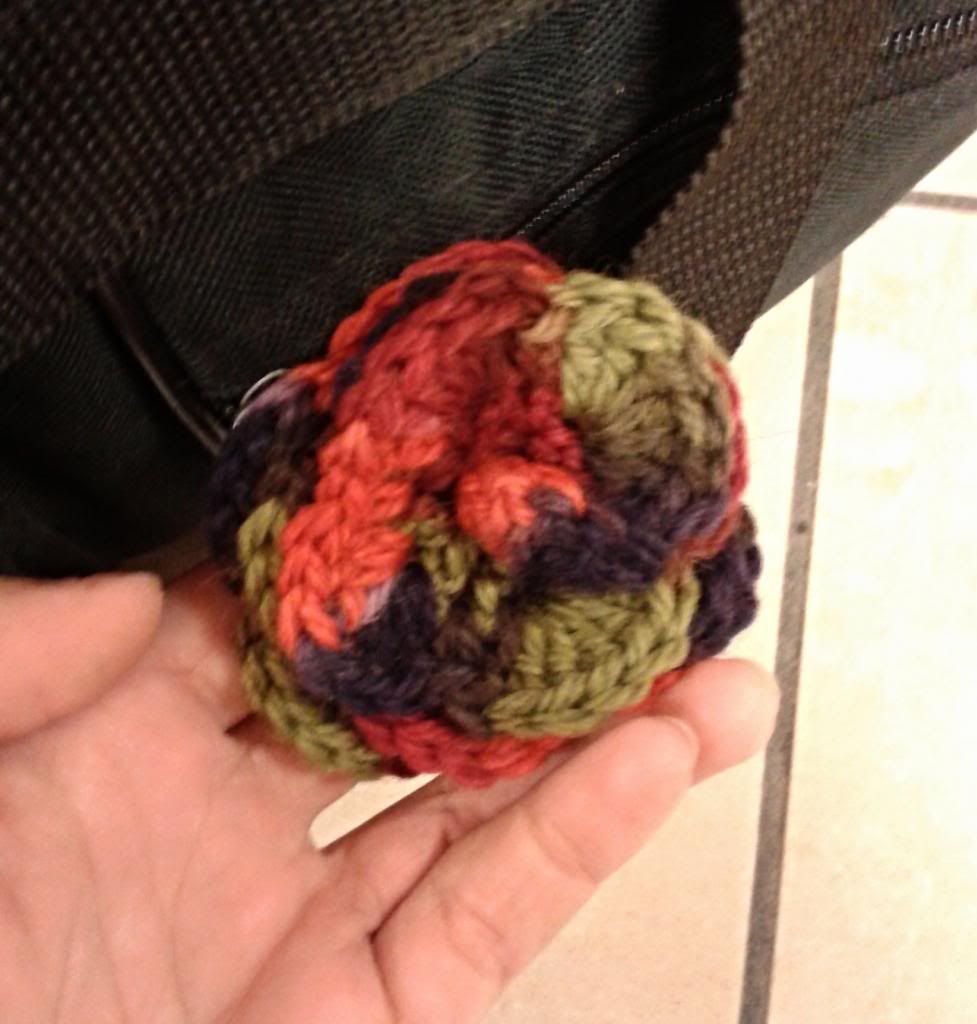
To wrap it all up I want to share my new luggage tag.  I was ready to run out the door to catch my plane when I realized I had nothing to identify my bags.  Well a knitter is never really at a loss for cool accessories so I grabbed one of the crochet flowers I'd previously made and voila!


Pattern crochet flower:http://www.lionbrand.com/patterns/L20081.html


Sunday, October 13, 2013

Harry Potter Scarf

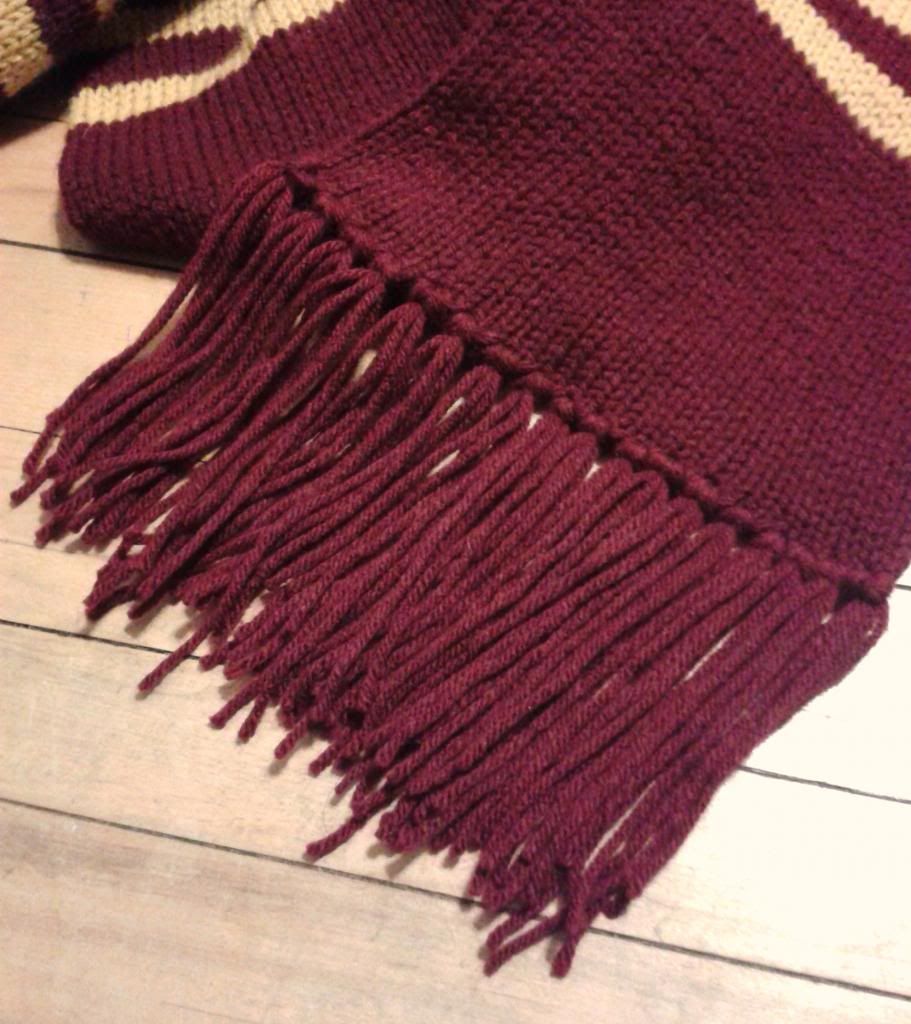
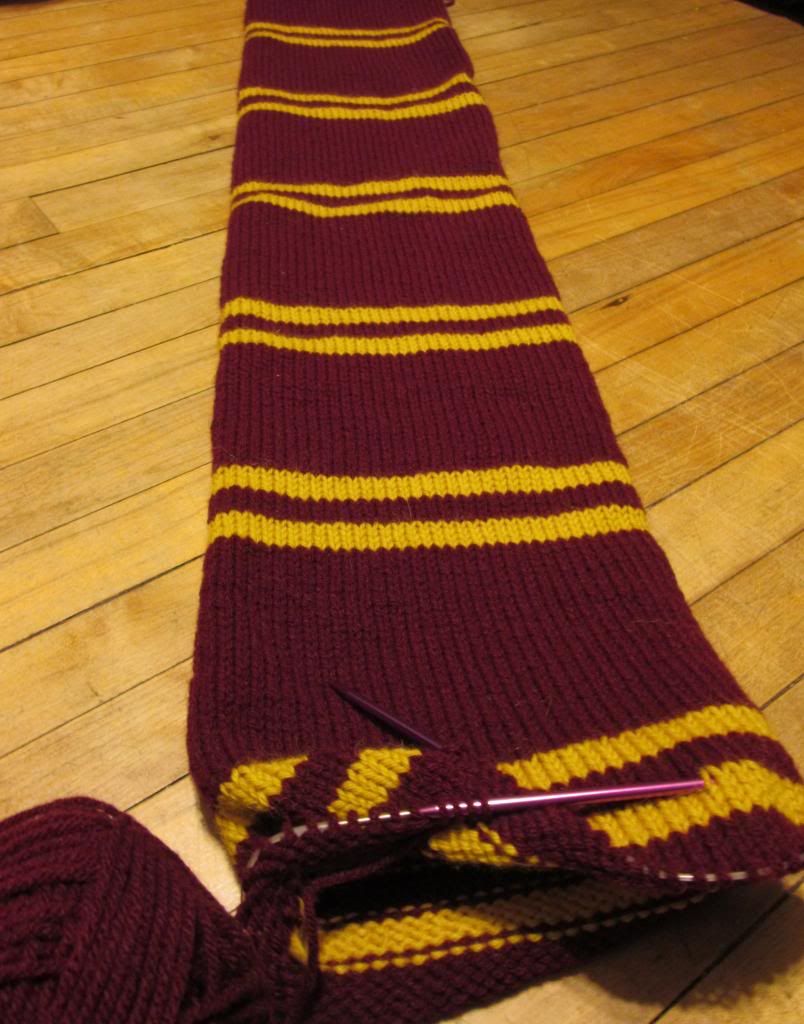
A few weeks ago I received my first Etsy order.  I've had quite a few custom orders before but they have all been for friends or co-workers.  This is the first time somebody found my blog and contacted me for my something.  Yay networking!  After many back and forth messages we finalized the order of a Harry Potter scarf.

There are a few different types of scarves used in the movie.  The first year scarf is your basic stripped scarf. We decided upon the pattern they used for second year students at Hogwarts.  In this case I used Gryffindor colours, but the pattern could be used for any of the other houses.  (Slythern - green and silver, Ravenclaw - blue and gray, Hufflepuff - yellow and black)

I found the pattern from the Come and Go Room.  It called for 100 sts but this makes a very wide scarf.  If you are looking to make your own I would recommend about 50-60 sts for cast on.

The scarf was knit in the round to make it much thicker and therefore warmer.  Even going full out and focusing all my efforts on this one project it took me a few weeks to complete.  Overall it was a very basic pattern.  Knit 30 rows of main colour, 4 rows contrasting colour, 4 rows main, and another 4 rows contrasting colour. Repeat until you reach the desired length.  To complete the scarf you add a fringe on both ends.  

I`m really quite happy with how it turned out and already I have people asking for a scarf for themselves.  Looks like this will be another pattern that gets quite a bit of use!


Wednesday, October 2, 2013

So many projects

It's getting cold outside and starting to look like fall.  This means it's ramping up into prime knitting season!  I love the time of year when all the hats and gloves start coming out.  It's so inspiring I find myself thinking "I could knit that".  You can find me rooting through the hat racks in the mall going "Ooh! This one has cables!"

It's also the perfect time to start knitting Christmas gifts.  Although I'm sure no one is as crazy as I am when I start to plan my gifts in August.  The past few years I have tried to knit something for EVERYONE, which proves to be a little difficult.  Try knitting 10 dishcloths in a row without getting bored of your pattern. So the goal this year is to pace myself and to keep from overstretching my yarn, so to speak.

With orders starting to pile in for the winter season I really need to focus on the projects I have on the go right now.  There are quite a few things that I have started, but did not yet get the chance to finish.  I usually end up getting distracted, because it's hard to stay focused with Pintrest and Ravelry at your fingertips.

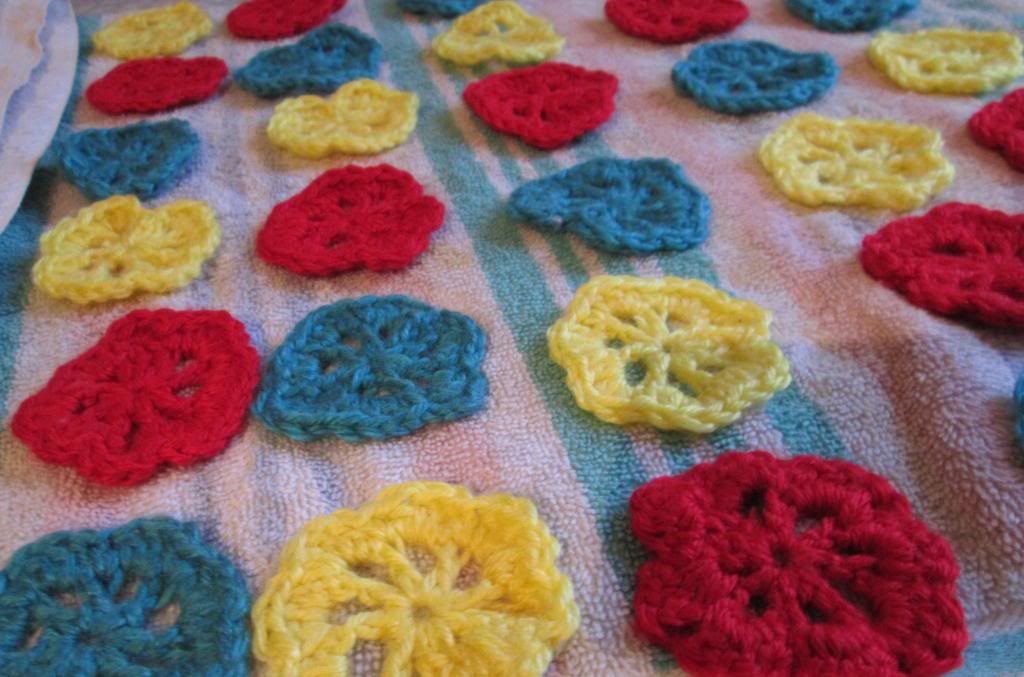
Ever since we moved into the new apartment I have felt that the deck has looked too boring. Of course, I decided to spruce it up with some yarn.  I found a good pattern for a flower bunting and cast on.  It has been great practice for my crochet since its currently over a thousand stitches long (whew!). The project has been coming along but I think I missed my deadline for the season.  The colours are very spring/summer and it'll probably be done just in time for it to be covered in snow.  


The bunting got put on the back-burner when I got my first Etsy order.  Yay!  I received a custom order for a Harry Potter scarf and it's all I've been working on recently.  


That's pretty much all for now.  As always I`m working hard to keep my Etsy shop up to date.  Keep watching my Twitter/ Facebook for updates.  If you like what you see please take a moment to follow me or leave a comment!


Wednesday, September 18, 2013

Blocking

Ever had projects that like to curl up at the ends?  Or maybe your tension didn't work out evenly.  All is not lost, you can block your knitting and fix these problems.  I'm notoriously bad for not blocking my stuff but it's
really quite easy to do.  There are three ways to block your items.  Wet blocking, spray or spritz blocking, and steam pressing.  


Fill a sink or large bowl with cool to lukewarm water, make sure it is big enough to hold whatever you are blocking.  Add some gentle soap to your water and swish it around a bit.  Be sure that your items are thoroughly wet.  Let it soak for 15-20 minutes.  


Drain the sink/bowl, then press the excess water out of your items.  Don't wring it out.  Lay your items down on a towel and roll the towel up around your finished pieces.  Leave rolled up for a few minutes then unroll.  You want your items to be damp, but not wet.  Repeat if too wet.  Next you will shape your articles.  Lay them out flat and use your hands to gently shape.  You can pin down the edges if they are curling or you need to stretch it into the right shape.  Leave it for a day or two so it can fully dry.


Spray blocking

Pin your finished items into place.  You can also use blocking wires to straighten out any edges.  Using a spray bottle get your items thoroughly wet.  Leave to dry.

Photo by Caitlin Ffrench
Steam pressing

Pin your items into place.  Lay a damp towel over what needs to be blocked.  Place heated iron on the damp towel and allow it to rest for a second.  Re-position the iron on the towel.  Make sure you lift the iron rather then sliding it.  Be careful not to apply too much heat as it can damage certain fibers.


Monday, September 2, 2013

Braided Cable pattern

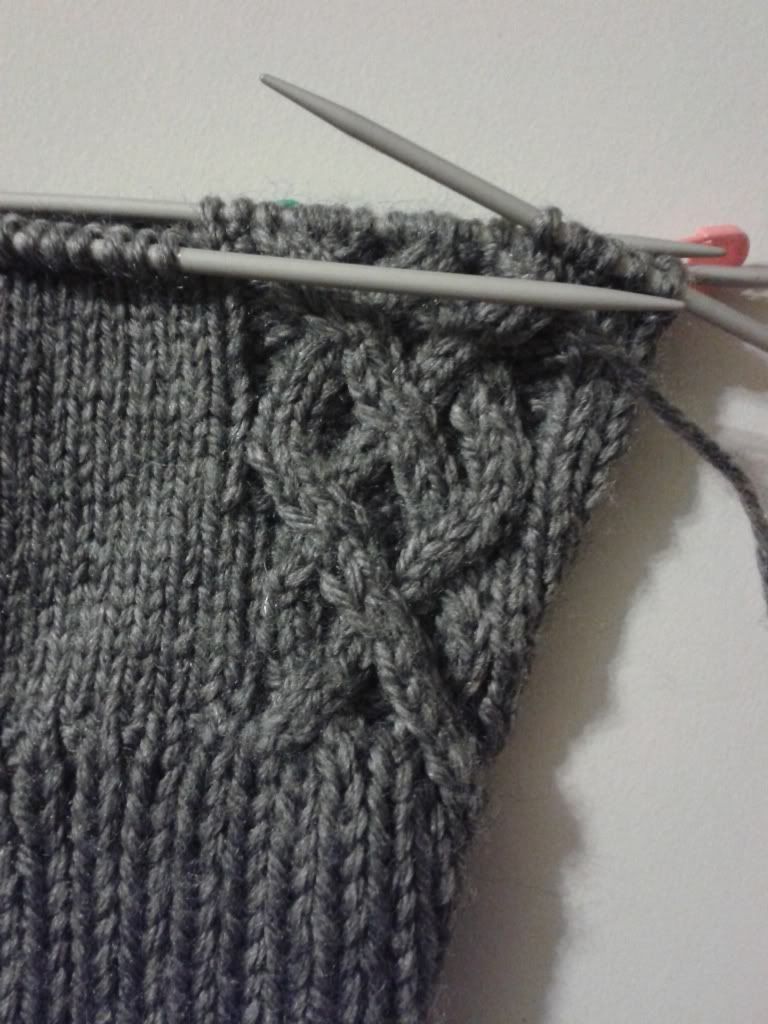
It's been a long hard road but my mittens are finally completed.  I've mentioned them in my previous post and it's funny to see just how far they've come.  They started out as very basic straight-knit mittens but I was not satisfied with how plain they were.  The first draft was scrapped though, I misjudged my gauge and they turned out too big.


Then I had cables on the mind.  It took a bit of trial and error but I figured out a pattern where they turn out braided.  The pattern is worked over 16 sts and repeats after 8 rows.  It is written as worked in the round.  There is a chart following the pattern.


Abbreviations


P - Purl
K - Knit
C4F - Slip 2 stitches purlwise to a cable needle, and hold to the front of the work.  Knit 2 stitches from the left needle.  Knit 2 stitches from the cable needle.
C3F - Slip 2 stitches purlwise to a cable needle, and hold to the front of the work.  Knit 1 stitch from the left needle.  Knit 2 stitches from the cable needle.
C3B - Slip 1 stitch purlwise to a cable needle, and hold to the back of the work.  Knit 2 stitches from the left needle.  Knit 1 stitch from the cable needle.


Row 1: P2, K2, P2, C4F, P2, K2, P2
Row 2: P2, K2, P2, K4, P2, K2, P2
Row 3: P2, C3F, C3B, C3F, C3B, P2
Row 4: P3, K4, P2, K4, P3
Row 5: P3, C4F, P2, C4F, P3
Row 6: P3, K4, P2, K4, P3
Row 7: P2, C3F, C3B, C3F, C3B, P2
Row 8: P2, K2, P2, K4, P2, K2, P2


They were made for a group collecting handmade hats and mittens for Metro Point Turning Shelter in Halifax.  A fantastic group of knitters are gathering together to donate 80 items for the men this winter.


Sunday, August 25, 2013

Up and coming skills

When I spend a lot of time on a single project my mind starts to wander.  I will start to think about all the awesome things that I could be knitting.  There are some really cool techniques out there that I haven't tried yet.  So I made up a list of things that I want to learn to do.


This one amazes me.  I remember the first time I saw it in a yarn store.  It blew my mind.  When you look at the item straight on you will only see two coloured stripes, but if you look at it from a different angle a picture appears.  Some people go all out and make really amazing works of art.  Check out Wooly Thoughts for some of the best examples of illusion knitting.


Now, I'm a big fan of colour-work.  It makes everything so much more exciting when you brighten them up a little.  My previous projects have been worked with the Intarsia style, such as the batman wristband or the skullkerchief.  You can do some fantastically intricate knitting with with Fair Isle.  A few of the designers that inspire me are Spillyjane and Tonks.


Amigurumi

Alright, so I know I've talked about learning to crochet before but I am far from an expert.  Amigurumi is a term for crochet toys or stuffed animals.  It amazes me how versatile you can be with a crochet needle.  I have seen beautiful and complex amigurumi.  An amazing nerdy designer is Lucy Ravenscar who crochet a set of star wars toys.  You can find her blog at http://lucyravenscar.blogspot.ca/


Thursday, August 1, 2013

What's going on

I have been crazy busy for the past few weeks and there have been a lot of changes in my life.  First off, I got a new apartment. My priority for essentially the past month has been packing up the old place and moving into the new one.  We are just starting to decorate, which is awesome because it means most of the boxes are finally gone.

Roller derby has also started to take over my life.  (Like it didn't already).  I skated in my first game, the Halifax Misfits vs Cape Breton's Tar City Rollers!  That was a fantastic evening.  Playing against Cape Breton was tough and I have to say I left that evening bruised, but not broken.


My projects have not been completely put on the back burner.  This place has a desperate need for some dishcloths and, of course, I'm not going to go out and buy some.  You may have already heard me talk about making dishcloths before, but I have some more tricks.
  • As with any project the first step is to figure out sizing.  Which means GAUGE.  I can't stress how important this is!  Mostly because I am notorious for jumping into projects without measuring first.
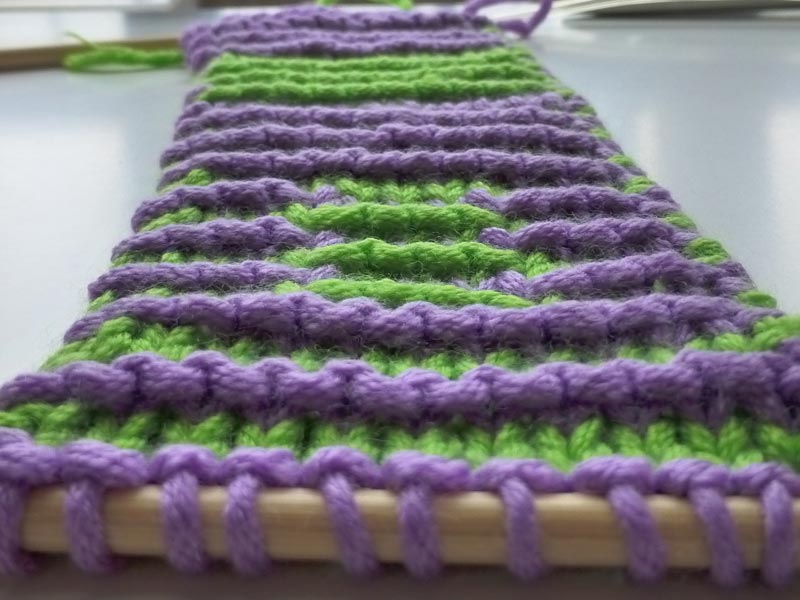
  • You should always slip the first stitch of each row.  This makes for a nicer edge and is great if you want to pick up the stitch later, like with crochet boarders.  


The dishcloth on the left was made with slipped stitches, the one on the right was not.  You can see the difference it makes.


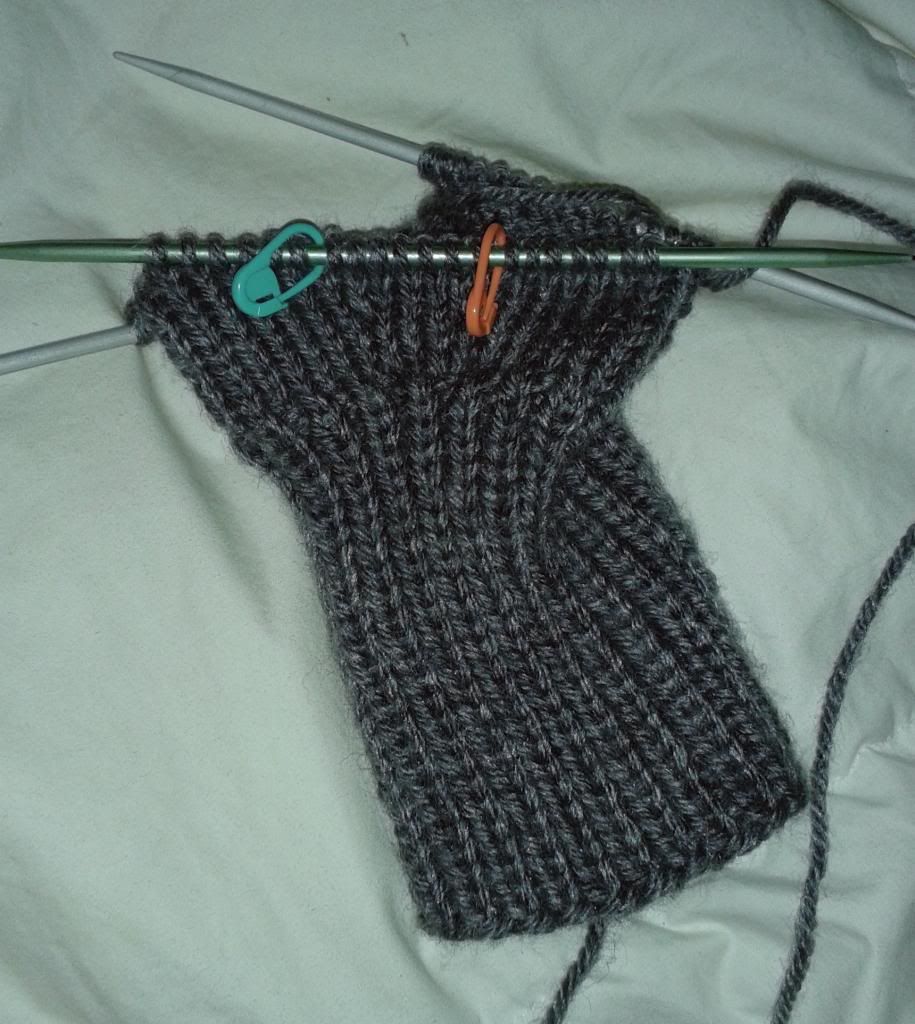
I had been working on a pair of mittens, but they had to be restarted.  My gauge was slightly off, and slightly off makes a biiiig difference.  So I tore them apart and started over, which is actually pretty exciting.  The first draft of mitts started with a very basic design so that I could get the pattern down.  Almost immediately I had a bunch of ideas on how to spice up the pattern.  Now that I had to restart, I get a chance to put some of those ideas into effect. 


Other then those two projects I have also been working to update my Etsy store.  You may have noticed a few new items have shown up.  There are now listings for the Split Cabled Headband, Button-up hat, and Rainbow Button-up hat.


More on Roller Derby: http://www.halifaxrollerderby.ca/
                                     http://www.rollergirl.ca/rollerskating-info.html
                                     http://www.derbyroster.com/


Thursday, July 11, 2013

Men's Basic Mitts

Requests for knitted items get pretty slow in the summer time.  Clearly people have a hard time thinking about hats and scarfs in July heat waves.  This doesn't mean I've put down my needles, though it does make me feel pretty silly when making socks and mittens. 

Which I am, by the way.  I'm making a whole bunch of mittens.  They're not too useful now, but a big pile of warm mittens is pretty awesome come winter.  Which is why I'm part of a group making winter accessories for the Men's shelter in Halifax.  The goal is to collect 80 items for the end of August to distribute to the men when it gets cold.  


I found a really awesome basic pattern.  It's great for modifying so I can great creative (rather then repetitive).  Plus the yarn I'm using looks so comfortable and warm. 

It's amazing how much you can get done in just a few days.  They are turning out bigger then I expected, I might have to double check my gauge.  


If you have ever wanted to pick up knitting this is a great reason to start.  You can start off with an easy project like a scarf and give it to someone who will really appreciate your efforts.  What more can you ask for?


Pattern: http://knitwithkt.blogspot.ca/2007/11/basic-mens-mittens.html

More Information: https://www.facebook.com/events/142778592582045/


Friday, July 5, 2013

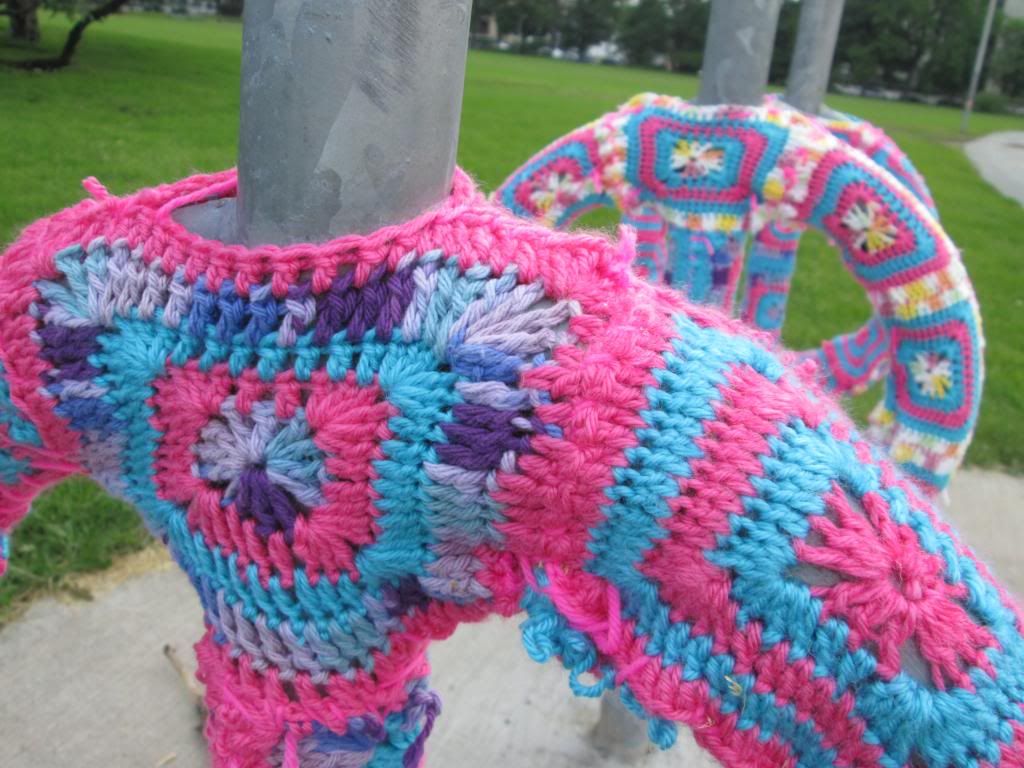
Yarn Bombing

A few weeks ago I went to the library, it is always a wonderful source of knitting information.  I love the idea of do-it yourself crafts.  Some of my favourite library finds are Pretty in Punk, Punk Knits, and AntiCraft.    This time, while searching through the craft section, I found a book called Yarn Bombing: The Art of Crochet and Knit GraffitiImmediately I was in love.

Have you ever seen a tree covered in yarn, or a knitted item on a statue someone left behind?  That is called yarn bombing.  It's a form of street art that formed from the knitting community.  I know, we're hardcore right?  It is often used as an act of craftivism (craft+activism, it's an actual word I swear).  Mostly, it's about bringing a smile to somebody's face by making everyday objects awesome.


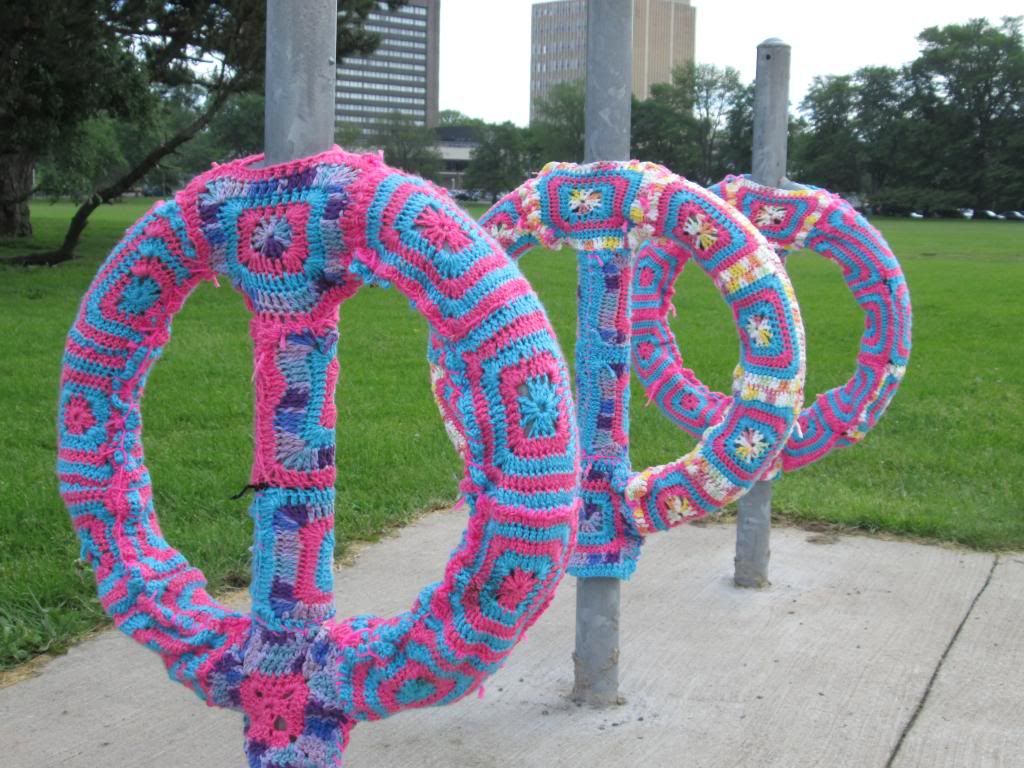
Bike racks in the Commons, Halifax N.S


The act of yarn bombing is subject of mixed feelings.  Some people think it's art, some see it as littering (but we don't really agree with those people do we?).  Even among crafters there is some debate.  Most people have a hard time understanding why you would spend so much time making an item that will sit outside in the elements.  Why not spend the time and yarn on a gift for someone?

That seems to be the biggest problem knitters have with yarn bombing, wasting beautiful yarns from our stashes.  The thing is, you don't use your high quality yarns.  The best yarn to use is actually acrylic, which is usually on the lower end of the price scale anyways.  Acrylic yarns tend to stay brighter for longer when left outside.  It is a perfect excuse to get ride of some yarn you picked up, or were given, that you can't find a project for.  You could even use the last bits of yarn leftover from a project.  You know, the bits that are too small to really make anything else with.  Piece those together and voila, the perfect excuse to yarn bomb something.


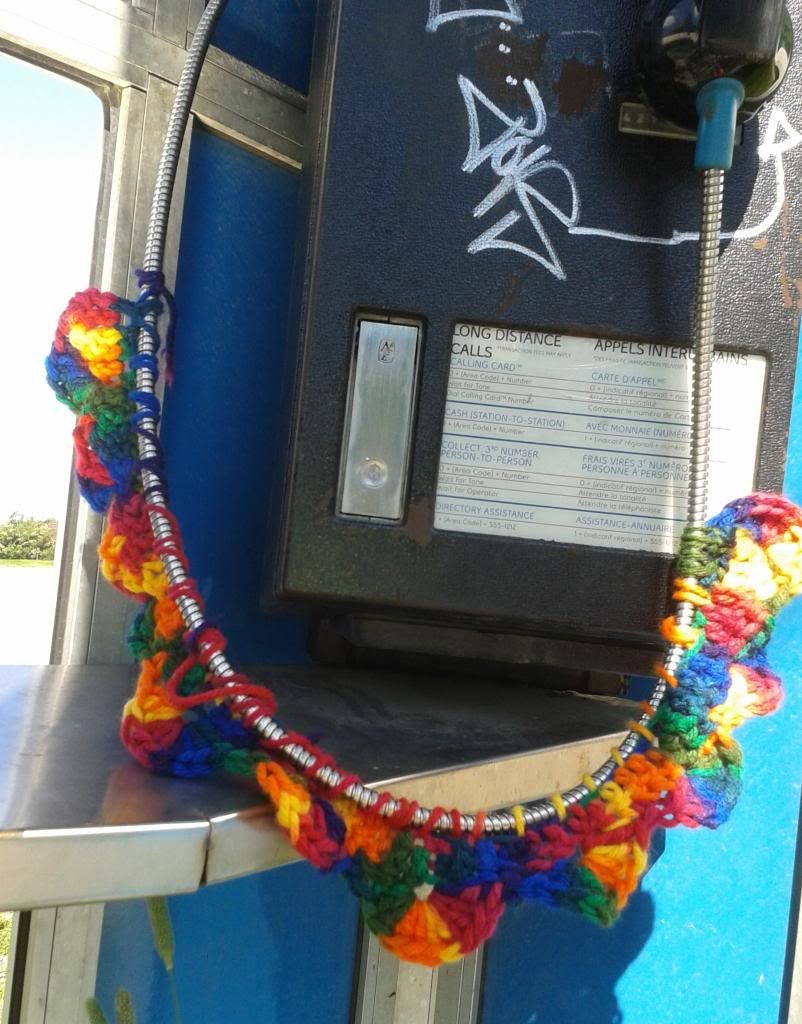
Tagged phone booth by the Halifax Forum


That's my opinion on it anyways. I would love to hear everyone's thoughts on the subject.  Or even just some wicked photos of yarn bombing you've encountered, be it in the streets or on the internet.